
 "Photoshop CS3 Power Tips")
The best part about shooting with digital cameras is Adobe Photoshop. For years now every good photographer worth his mettle runs his pictures by Photoshop, for minor adjustments or major modifications before releasing it to the public. There are still a few enthusiasts out there who consider digital post-processing equivalent to cheating, but these are photographers who are missing out on a tool that can truly show a world of improvement in their craft. In this day and age, photography is equivalent to shooting the picture plus post-processing.
Now with the new Photoshop CS3 available, there are a lot of new and improved features that make tasks that were considerably tedious before into just a few simple mouse clicks. Though these tips seem a bit advanced, they are perfectly doable by anyone who has basic knowledge of the application. Even if you don’t, the instructions below should be clear enough.
We begin with the simplest trick in this feature…
Auto Crop & Straighten
This trick is especially useful when you’re scanning images. When scanning a photo, most of the times we don’t place the image perfectly straight on the scanner bed, which is why the scans usually occur with an ugly and uneven white border around.
For example, I got the image below from a scan I just did, complete with the uneven borders. Normally, I would go through a process of selecting, straightening and cropping in Photoshop to get rid of the borders. Well not anymore!

With the help of Photoshop’s Automate tools, this boring (but essential) task can be done in just two clicks. All you need to do is open your image in Photoshop and —
Click #1: Go to File > Automate

Click #2: Select Crop and Straighten Photos

In case you’re using an unevenly cut photo like I am, chances are, you’ll still have a little white left on your edges.

After just a bit of cropping, we get the desired result. So the next time you want to scan an old photo album, you know that at least one of the mundane steps has been simplified for you. Oh, and this tip also works with Photoshop CS2.
__PAGEBREAK__
Power Presentation
When you think of presentations, you think of Powerpoint. Well, even though Microsoft has made a great presentation application that anyone can immediately use, it may not be the best option for photographers, or just about anyone who wants to create a slideshow of his photos.
Well, Adobe has done a good (and logical) thing by integrating a bit of PDF support into Photoshop. So all you need to really work on, is getting your photos (or slides) ready. The photos could be in any image format that Photoshop supports, so you’re not limited by restrictions.

Once you have your images ready, just place them in a folder for easy access. Then start Photoshop CS3 and click on File > Automate > PDF Presentation to open the Presentation config window.
Here on, it’s pretty much self explanatory. Use the browse buttons to locate the files and use the check boxes below to select the information you want to display along with the images.
Since you’re making a self-running presentation rather than a regular PDF document, make sure to select Presentation in Save As.

As soon as you do that, you get to use the Presentation Options below, like the time to display each frame (or image), as well as the transition effects between frames.
Now click the Save button, and select the destination of your PDF file, after which, you’ll get the final window where you can fine tune your presentation’s settings. For highest compatibility, I suggest you leave these settings as they are.

And there you have it, in a few seconds depending on the amount of images you selected, your presentation should be ready.
__PAGEBREAK__
Simple Panorama
Panorama is a pretty much hit-or-miss feature. While on one hand there are cameras like the Kodak’s V series that do an excellent job of shooting and stitching wide panorama shots together, there are other cameras that do assist you in taking the consecutive shots, but require you to use an external application, or a bundled one to stitch the picture for you. In case you hate the idea of bulking up your PC with unnecessary single-purpose applications like I do, Photoshop CS3 has an excellent stitching utility built into it.
But before we get to that, you need to click the right images. If your camera supports panorama shooting, then the job gets easier for you, but even if it doesn’t, it’s pretty easy to take the right shots. All you need to do is place your camera on a tripod or a flat surface and click shots in a horizontal direction (from left to right or vice versa). I will be using the shots below clicked on a terrace.

The main thing you need to take care of is to shoot the pictures without flash, as variable lighting can spoil a panorama. There seems to be a bit of an exposure shift from my first to my second image, which I ’m afraid may cause a slight variation.
Also make sure to leave in a bit of edge from the previous shot in the next one, to give the stitching application something to play around with. Moreover, try not to have people in the edges of any of your shots, because when the shots will be stitched together, the people at the edges may appear halved or distorted.
Now that the shots are ready start Adobe Photoshop CS3. Go to File > Automate > Photomerge to bring up the Photomerge window. There you can define the layout that will best shoot your shots. I would suggest you stick to Automatic, as that works best most of the time.

Under Files, simply select the images that you wish to stitch together and make sure that the Blend Images Together check box is selected. Once done, click on Ok and watch Photoshop create new image with multiple layers to blend the images together.

The image below is what we got. You can notice how a shift in lighting has created a line of separation in the image below. Otherwise the stitching done by Photoshop is near perfect. Nonetheless our first priority now, is to get rid of the areas on the top and bottom.

Which is where cropping comes in. Just select the Crop tool from the side bar and select the area without any of the empty spaces.

Once the area is selected, press Enter on your keyboard to crop it. This is what our end result looked like.

That’s it for now, watch out for more articles in this series on Tech2. You can discuss this feature or even post article requests in the comments below as well as on our forums.
 "Israel targets top Hamas leaders in Doha; Qatar, Iran condemn strike as violation of sovereignty")
 "Nepal: Oli to continue until new PM is sworn in, nation on edge as all branches of govt torched")
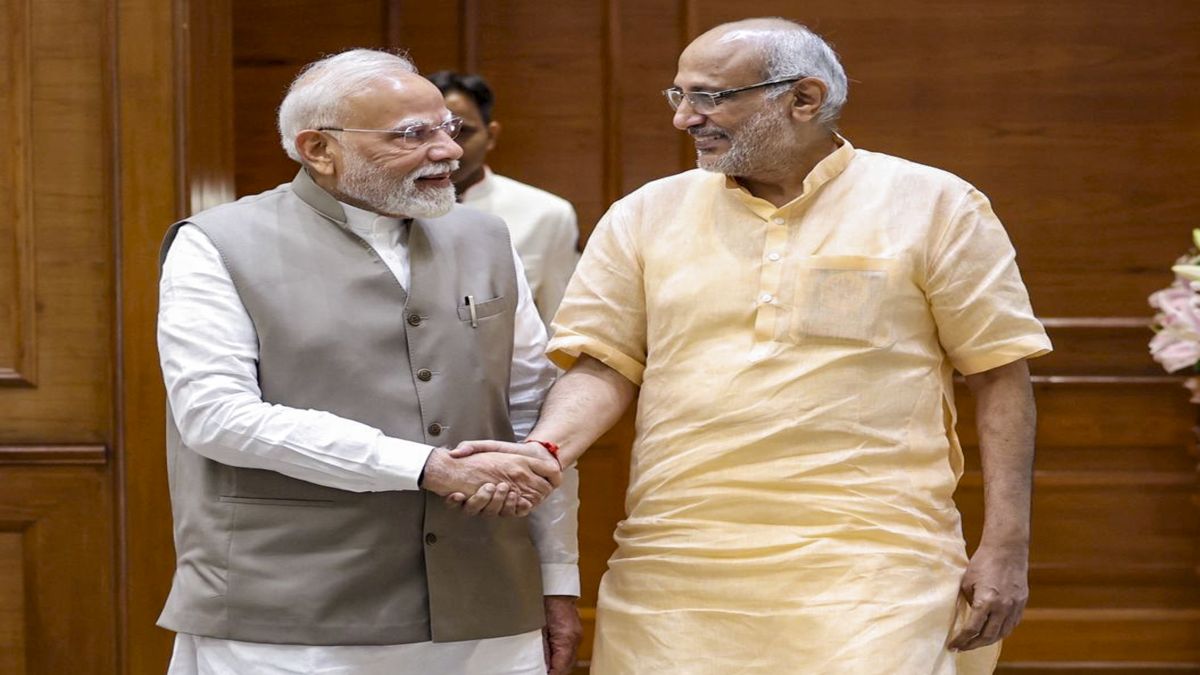
 "Who is CP Radhakrishnan, India's next vice-president?")
 "Israel informed US ahead of strikes on Hamas leaders in Doha, says White House")
 "Israel targets top Hamas leaders in Doha; Qatar, Iran condemn strike as violation of sovereignty")
 "Nepal: Oli to continue until new PM is sworn in, nation on edge as all branches of govt torched")
 "Who is CP Radhakrishnan, India's next vice-president?")
 "Israel informed US ahead of strikes on Hamas leaders in Doha, says White House")


