
 "Astrophotography 101 Part 3: A Basic Guide to dSLR Wide Field Shooting")
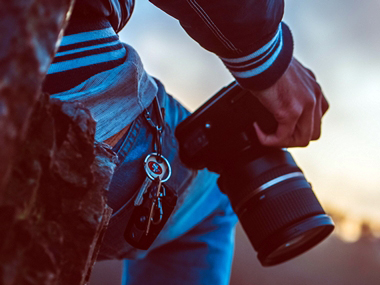
It’s finally time for some hands on experience with basic astrophotography. This article may make or break your love for the art, depending on how the final image ends up looking. In this article, we will have a look at imaging the night sky with just a dSLR camera (or any camera with a manual mode), basic lens and a tripod. We’ll show you how to capture one of the most beautiful objects in the night sky: The Milky Way. [caption id=“attachment_4076191” align=“alignleft” width=“380”] 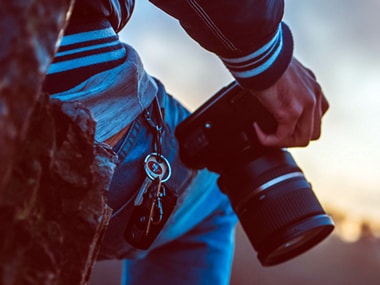 Image: Pexels[/caption] Equipment Needed:
- Camera: In this article, we’re assuming you’ll be using a dSLR camera with an interchangeable lens. But in the event you don’t have one, you can also use your point and shoot as long as it has a Manual Mode and a decently wide lens (at least 15-18mm on the shorter end). But a dSLR gives you advantages that we’ve already covered in the past, like better ISO control, fast-swapping lenses, etc. dSLRs also come with Bulb Mode in case you want to photograph star trails.
- Lens: If you’re using a dSLR, it’s also important to choose a fast, wide-angle lens: as wide as possible. The wider the lens, the more of the scene you can capture. For this article, we’ll be sticking to the everyday 18-55 lens config but remember that the procedure varies a little for each lens, since you can go to different lengths with them.
- Tripod: As mentioned in our last article, a tripod is absolutely essential. You need your camera to be as steady as possible since you’re shooting an object that is very sensitive to shakes/disturbances. Also, when using a tripod, one must keep it as level as possible and try not to use the extension legs much, especially the central extension.
Location Scouting: Depending on the area you live in, you may need to venture out to a dark site if there is too much light pollution in your area. People in metro cities almost certainly will have to do this, especially when photographing a subject like the Milky Way, which is visible in very dark locations. Ideally, hill stations, farmhouses and similar areas are where you have dark skies as well, since they are located far from the city. You could try photography from the city as well, but be prepared to see a lot of yellow/orange-ish skies from all the light pollution, and almost zero stars. Shooting the Milky Way: The Milky Way is one of the most ethereal sights a person can see. The vast expanse of stars is just a sight to behold. It’s a spiral galaxy that contains billions of stars and our own solar system, among other things. Mind you, what you are looking at when you see the photos of the Milky Way is just one of its many spiral arms. The Milky Way is seasonal to an extent: the one more prominent is the summer Milky Way, that spans across the constellations of Sagittarius in the southern night sky all the way to Cygnus in the north. The Winter Milky Way starts from the constellation of Orion in the winter, but is less prominent than the summer arm. The standard procedure for photographing the Milky Way is as follows:
- Set up your DSLR and lens/camera on the tripod on a level surface.
- Switch to Manual Mode, and set a shutter speed of about 15-20sec (depending on how dark it is) and the widest aperture your lens has (f/3.5 in case of the 18-55 lenses).
- Set ISO to about 2500-3200. Keep experimenting and see where you have the perfect balance between noise and image sharpness.
- If possible, remotely trigger the camera (most Canon and Nikon DSLRs come with an app to remotely control the camera). Otherwise, set a timer so that any vibrations can be in check.
- Focus: this is a very important aspect. Autofocus will simply not work even if you use the best lenses, since the lens will keep hunting in the dark. There’s a simple procedure to use Manual Focus: switch to Live View Mode on your camera, set ISO to the highest possible and zoom in to a particularly bright star and adjust focus until you get pinpoint brightness. This is a very crude method but it gets the job done in a lot of cases.
If all goes well, you have a decent image that looks like this: [caption id=“attachment_4076183” align=“aligncenter” width=“850”] 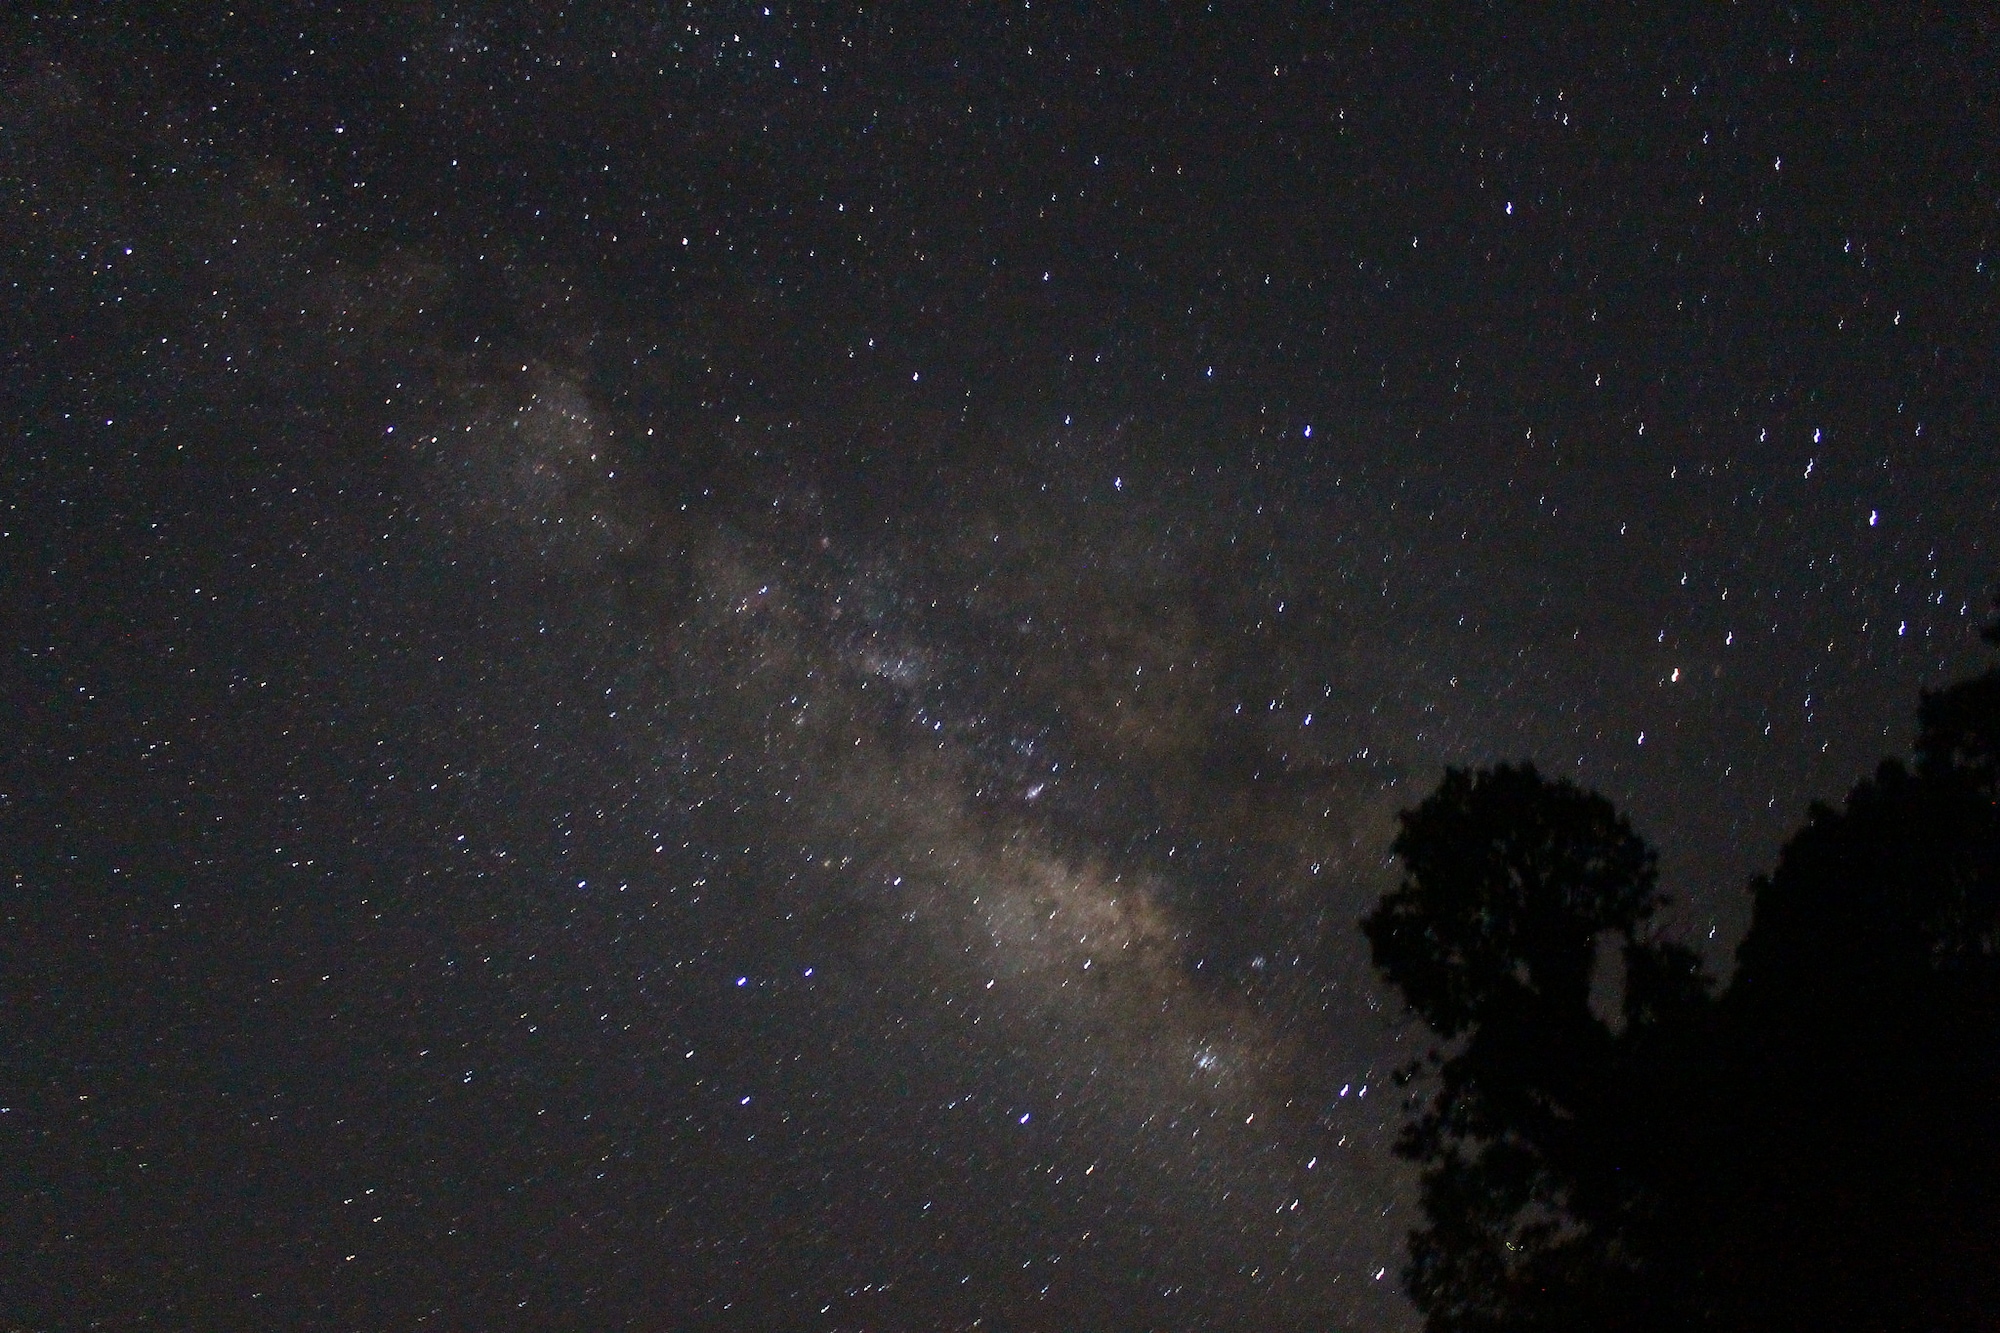 Image: Abhilash Pavuluri[/caption] Now, one thing I’ve not mentioned here that a lot of photographers do is shoot in RAW: that gives you a lot more data to work with. But for the sake of simplicity, we’ve stuck to JPEG in this article. Once you get better at it, it’s time to take it up a notch. Start taking multiple RAW images and stacking them for more data. See if you can make or buy a barn door tracker which improves the photos significantly. Lastly, buying a good fast lens always improves image quality and lets you capture a lot more of the sky. Previous articles on astrophotography by the author can be found **here** and **here** .


](https://images.firstpost.com/wp-content/uploads/2017/09/dslr-pexels.jpg)
](https://images.firstpost.com/wp-content/uploads/2017/09/14058791885_fb94142b1d_k.jpg)